C# WinUI 3アプリを作っていく途中で、調べたことを忘録的に投稿します。今回はWinUI3プロジェクトで[Button]コントロールにスプリングのように伸縮するアニメーションを適用する方法です。
ボタンを伸縮させる
WinUI3では、コントロールにアニメーションの追加が可能です。
様々なアニメーション操作が、用意されていて、こんな感じでボタンにマウスポインターを重ねるとボタンのサイズを伸縮させる[SpringVector3Animation]などがあります。
[SpringVector3Animation]の場合
例えば、スプリングのように伸縮する[SpringVector3Animation]の場合は、こんな感じで実装します。
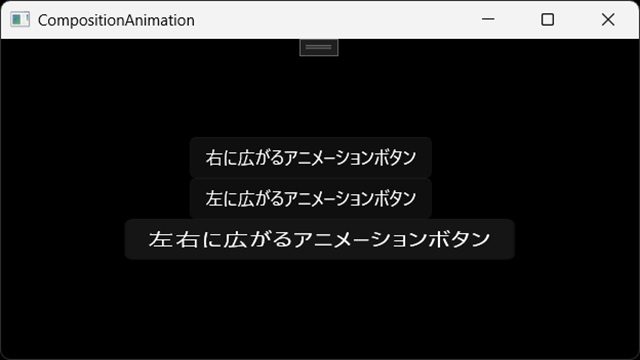
適用する[Button]コントロールをXamlに配置します。
<Grid VerticalAlignment="Center" HorizontalAlignment="Center">
  <StackPanel Orientation="Vertical">
    <Button x:Name="RightWideAnimationButton"
      Content="右に広がるアニメーションボタン"
      PointerEntered="RightWideAnimationButton_PointerEntered" PointerExited="RightWideAnimationButton_PointerExited"/>
    <Button x:Name="LeftWideAnimationButton"
      Content="左に広がるアニメーションボタン"
      PointerEntered="LeftWideAnimationButton_PointerEntered" PointerExited="LeftWideAnimationButton_PointerExited"/>
    <Button x:Name="BothWideAnimationButton"
      Content="左右に広がるアニメーションボタン"
      PointerEntered="BothWideAnimationButton_PointerEntered" PointerExited="BothWideAnimationButton_PointerExited"/>
  </StackPanel>
</Grid>
C#のコードでアニメーションを作成する関数を追加します。
private void CreateOrUpdateSpringAnimation(float finalX, float finalY, float finalZ)
{
  if (_springAnimation == null)
  {
    _springAnimation = _compositor.CreateSpringVector3Animation();
    _springAnimation.Target = "Scale";
  }
  _springAnimation.FinalValue = new System.Numerics.Vector3(finalX, finalY, finalZ);
}
Xamlに配置したコントロールの[PointerEnterd]と[PointerExited]イベントにアニメーションを開始、停止する処理を追加します。
private void RightWideAnimationButton_PointerEntered(object sender, PointerRoutedEventArgs e)
{
  CreateOrUpdateSpringAnimation(1.5f, 1.0f, 1.0f);
  RightWideAnimationButton.StartAnimation(_springAnimation);
}

private void RightWideAnimationButton_PointerExited(object sender, PointerRoutedEventArgs e)
{
  CreateOrUpdateSpringAnimation(1.0f, 1.0f, 1.0f);
  RightWideAnimationButton.StartAnimation(_springAnimation);
}

private void LeftWideAnimationButton_PointerEntered(object sender, PointerRoutedEventArgs e)
{
  LeftWideAnimationButton.CenterPoint = new System.Numerics.Vector3((float)LeftWideAnimationButton.ActualWidth, (float)LeftWideAnimationButton.ActualHeight, 0.0f);
  CreateOrUpdateSpringAnimation(1.5f, 1.0f, 1.0f);
  LeftWideAnimationButton.StartAnimation(_springAnimation);
}

private void LeftWideAnimationButton_PointerExited(object sender, PointerRoutedEventArgs e)
{
  LeftWideAnimationButton.CenterPoint = new System.Numerics.Vector3((float)LeftWideAnimationButton.ActualWidth, (float)LeftWideAnimationButton.ActualHeight, 0.0f);
  CreateOrUpdateSpringAnimation(1.0f, 1.0f, 1.0f);
  LeftWideAnimationButton.StartAnimation(_springAnimation);
}

private void BothWideAnimationButton_PointerEntered(object sender, PointerRoutedEventArgs e)
{
  BothWideAnimationButton.CenterPoint = new System.Numerics.Vector3((float)(BothWideAnimationButton.ActualWidth / 2), (float)(BothWideAnimationButton.ActualHeight / 2), 0.0f);
  CreateOrUpdateSpringAnimation(1.5f, 1.0f, 1.0f);
  BothWideAnimationButton.StartAnimation(_springAnimation);
}

private void BothWideAnimationButton_PointerExited(object sender, PointerRoutedEventArgs e)
{
  BothWideAnimationButton.CenterPoint = new System.Numerics.Vector3((float)(BothWideAnimationButton.ActualWidth / 2), (float)(BothWideAnimationButton.ActualHeight / 2), 0.0f);
  CreateOrUpdateSpringAnimation(1.0f, 1.0f, 1.0f);
  BothWideAnimationButton.StartAnimation(_springAnimation);
}
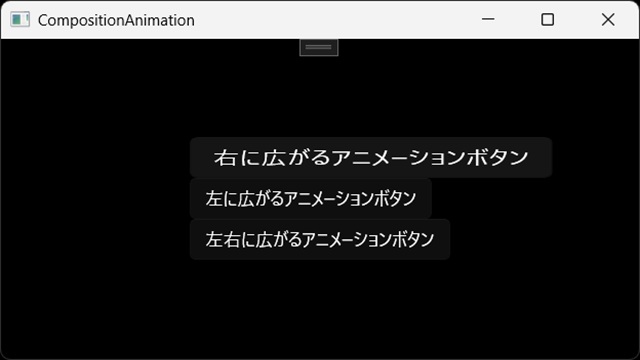
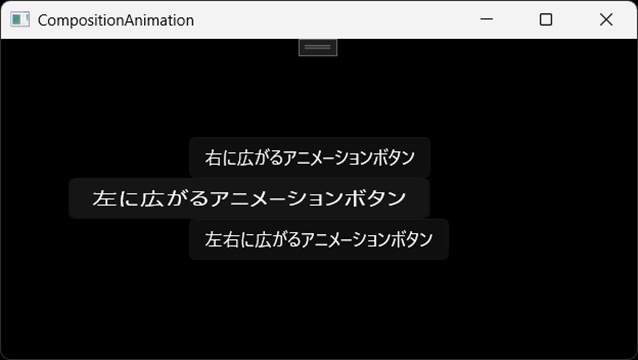
実行すると、配置したボタンにマウスポインターを重ねるとボタンの横幅が伸縮するアニメーションが再生されます。
まとめ
今回は、[Button]コントロールにスプリングのように伸縮するアニメーションを適用する方法について紹介しました。
WinUI3では、配置したコントロールにマウスポインターを重ねた際に特定のアニメーションの再生や停止の設定が可能です。
アニメーションを利用してボタンなどのコンテンツの色変更以外にも伸縮などでユーザーに何らかのアクションや通知を行う操作が可能です。
WinUI 3で表示されるコンテンツにアニメーションを適用したい人の参考になれば幸いです。
スポンサーリンク
最後までご覧いただき、ありがとうございます。